Introduction
Using objects and classes to organize code is a very powerful paradigm for building more complex applications than can otherwise be done. In the case of using plugin development environments like WordPress, this paradigm can be a savior. Most newcomer developers end their procedural code with a simple piece of script that seems to work fine as long as it is not too complicated; but at any point it becomes more difficult to maintain. Encapsulation, inheritance, and abstraction are principles in OOP that help create reusable code writing within modules rather than writing very long procedural codes that become unmanageable. In developing plugins fabulous for rolling out across platforms, those principles enable developers to write cleaner, better-organized codes that are also future-proof.
A little knowledge about procedural programming will set the stage for understanding object-oriented programming; in fact, the defining characteristic of object-oriented programming is in contrast to procedural programming. Instead of giving step-by-step instructions, you devise “blueprints” or classes that create an object, and then you make those objects communicate with one another. For an example of plugin development, you may have a SettingsManager class that handles any configuration logic, whereas a DatabaseHandler class handles data storage. So these classes themselves can be tested, maintained, and reused in multiple projects. This article will personally walk you through the very basic implementation steps for OOP in your plugin projects, even if you are a neophyte. By the end of the tutorial, you will have an in-depth understanding of OOP principles and how to implement such principles in an optimized way to structure a plugin.
Understanding the Basics of OOP for Plugin Developers
What Are Classes and Objects?
Classes and objects are at the heart of OOP. A class is a blueprint or template to define all the attributes and behaviors or properties and methods that might belong to an object. On the other hand, an object is a realization of a class; that is, it is the actual blueprint of the object. With this definition, a developer can abstract his code into logical units when developing plugins. For example, to build a plugin for custom post types, you may create a CustomPostTypeManager class and define it by implementing registration, settings, and all interactions with those custom post types. Whenever a new custom post type needs to be added, an object of this class will be instantiated with specific parameters.
The reuse and modularity of having classes and objects will be a benefit in plugin development. Instead of repeating the code into various files, it is possible to keep it centralized in a class and call its methods whenever needed. As a result, it becomes very easy to maintain and update the plugin. Besides this, it promotes clearer organization of code. It separates business logic from the front-end display or configuration code. With proper class structure, your code becomes readable not only to you but to other developers who might contribute or build on your plugin. As a result, it leads to better collaboration and extensibility, which are vital aspects of professional plugin development.
Encapsulation, Inheritance, and Polymorphism
Encapsulation is the concept wherein some parts of an object must be restricted from public access, thus decreasing dependencies and eliminating possible interference. In plug-in development, this means that variables and functions will be wrapped inside classes and the only necessary methods will be exposed through public interfaces. This minimizes the probability of bug production and simplifies debugging because if you know where the change affects your plugin, it is very easy to locate and fix them. For example, you could have a Logger class that writes activity into a log file but only exposes the public log() method used by the rest of the plugin and keeps file handling private to the Logger class.
Inheritance gives way to the derivation of a class from other classes, thus eliminating redundancy and enhancing code reuse abilities. For example, assume that an AdminPage is an unmanaged class for layout and script enqueuing responsibilities. This means that SettingsPage and ReportsPage can be created as extensions of it, having inherited functionalities common to them while adding custom features. Polymorphism goes ahead to enable implementing methods defined in a base class in different ways by different classes. This accommodates flexible plugin architectures very well. Consider an interface called Notifier that has, say, a method called sendNotification(). EmailNotifier, SlackNotifier, or SMSNotifier may implement the sendNotification() method differently. With OOP, a theoretical concept becomes a very practical advantage in general plugin projects.
Setting Up Your Plugin Structure with OOP in Mind
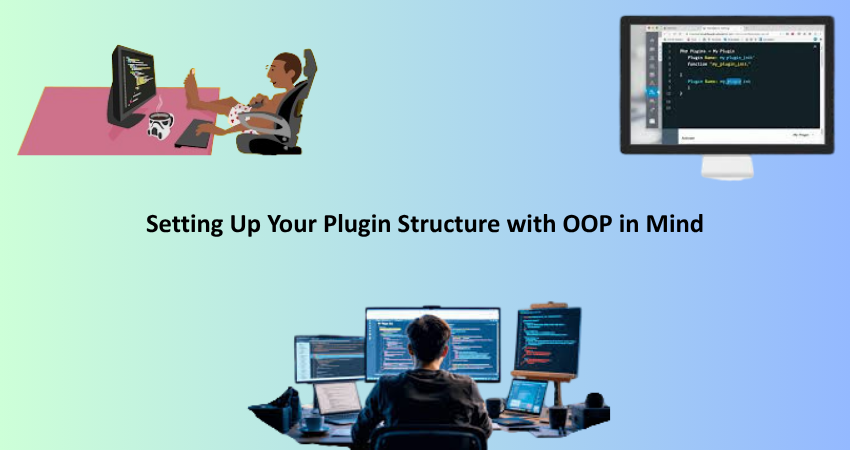
Creating a Modular Directory Structure
A clean folder structure pays off when you’re building an OOP plugin that is scalable. There should be a primary plugin folder and then different directories inside it, for example: /includes, /admin, /public, and /classes. Each of the folders will have its concrete purpose. You can restrict the /classes folder for your logic classes for instance: PluginCore.php, SettingsManager.php, and ShortcodeHandler.php. For example, the admin folder may contain classes and assets that serve the backend user interface, while the public one deals with everything regarding front display. This way, the roles are clearly separated, making the codebase easy to work in, prone to fewer confusions, and interference among different functional areas much reduced.
Modular structures are much more functional when developing large plugins or working with teams. When everybody knows where to find which components, it increases productivity and cuts down miscommunications. Such organization also simplifies adding autoloaders for upon-request class loading. The PSR-4 compliant autoloaders, or even the built-in Composer autoloader, makes this very smooth. The performance benefits of avoiding unnecessary loading of files also help with getting your plugin on par with professional coding standards, hence maintaining and scaling your plugin as new features are added becomes easy.
Initializing Your Plugin via a Bootstrap File
A bootstrap file is the entry point of your plugin-often called with the name almost similar to your plugin (e.g., my-plugin.php). The first thing you will want that file to do is to define plugin constants-including the files needed to support the plugin based on its core initialization for its class. A good practice here would be to define constants for directory paths, plugin version, and the plugin name so that coding becomes more maintainable. After these constants are set, it is now time to call in the main class file-say PluginCore.php-and instantiate it. The PluginCore class will be the chief manager of all your plugin’s logic and flow.
This provides a clean and clear concept for starting up the plugin because, using a bootstrap file, it ensures that only what is needed is loaded and performance issues caused by bloat codes are avoided. You can hook into WordPress actions within PluginCore such as plugins_loaded, admin_menu, or init, and hand over to other classes such as AdminPageManager, SettingsManager, or ShortcodeHandler. Following this structure renders into a single-responsibility principle where one class will be responsible for only one specific task, thus increasing modularity and maintainability. This will pay off big time as your plugin grows because of the development in time.
Implementing Core OOP Concepts in Practice
Using Constructors and Dependency Injection
Basically, a constructor is a special method that fires off automatically upon instantiation of the class. It is well suited to initializing values, setting up dependencies, or registering hooks. For example, the constructor in your PluginCore class could set up other necessary properties like configuration settings and instantiate other classes like AdminManager and PublicManager. Invoking constructors ensures that anything needed by the class for it to function is in place before any other method is called. This is one fundamental OOP concept that will help strengthen the plugin code a great deal.
Dependency injection is passing in class dependencies instead of hardcoding them. It is not appropriate to instantiate a Logger within your SettingsManager but accept it through constructor injection instead. This pattern is conducive to unit testing, code reuse, and loose coupling, allowing the injection of dependencies without changing the class. So, for example, in a test, you might use a MockLogger that looks like it is logging, but does absolutely nothing and just sits in memory. Following these patterns will keep your plugin architecture clean and flexible for growing with time.
Using Interfaces and Abstract Classes
An interface creates a contract which enforces the implementation of other classes. Therefore if, for example, NotificationInterface refers to the send() method, the implementing class has to implement its version of send(). Some of the major tools offered by OOP for the sake of consistency and for the sake of reusability are interfaces and abstract classes. This maintains consistency throughout the plugin architecture, especially when different developers are working on it. It also enables polymorphism, that is, allows for the interchangeability of various notifier classes in the plugin logic.
On the other hand, where abstract classes are concerned, they will provide some common implementation by which child classes may build upon it. For example, you might want to work with the abstract class AdminPage that does most of the common logic for backend pages. Subclasses such as SettingsPage or LogsPage may then inherit to extend and implement their particular methods. This enables faster development while facilitating reuse of common functionality. The proper use of interfaces and abstract classes will ensure that the plugin becomes flexible, easily maintainable, and roles and responsibilities are defined. This is especially useful when considering big plugin systems or enterprise-grade quality plugins.
Hooking into WordPress Actions and Filters with OOP
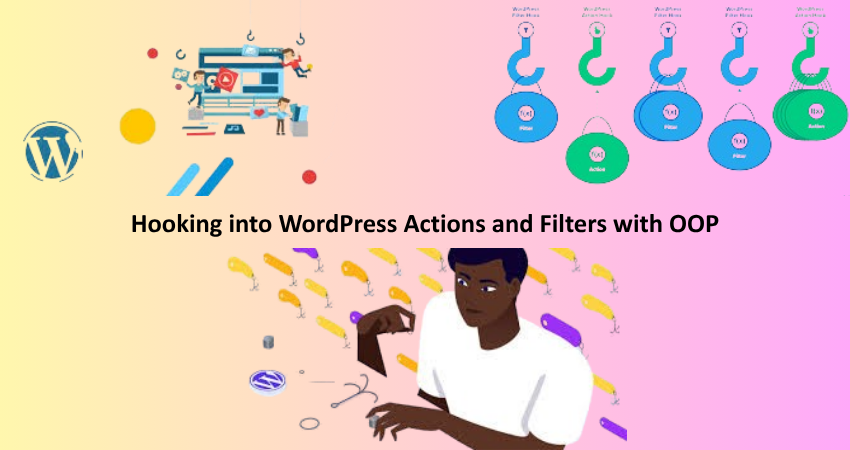
Registering Hooks from Inside Classes
What hooks really do is make WordPress extensible; you use hooks differently in OOP structures than you do in procedural programming. Inside a class, you register actions and filters using either add_action() or add_filter() in the constructor or in a dedicated init() method. However, reference your callback in an array: [ $this, ‘method_name’ ]. Then WordPress knows to invoke that method from the current object instance. For example, you might have a class in charge of settings, and an admin_init hook that registers settings sections and fields so that your settings page is properly initialized.
Scoped hooks within classes should prevent naming conflicts with other plugins or themes. Since the methods are protected by a class scope, it is less likely that conflicts with global functions would arise. Furthermore, because all hook logic is encapsulated, debugging and extending the code is made easier. Consistent application of this constraint means that any developer can easily follow the trail of which class or method actually performs a certain bit of functionality. This greatly aids in the onboarding of new developers, maintenance of code, or even refactoring across the plugin’s entire life cycle.
Creating Callback Methods and Maintaining Readability
Whenever your hooks are triggered, the functions WordPress runs are known as Callback methods. Such methods are to be clearly named and scoped within classes in an OOP context, representing their purpose. An example is a method within the SettingsManager class named render_settings_page(): it tells exactly what it does where it fits. Try not to pile these methods with too much logic, but rather delegate tasks to their own smaller private helper methods, such as get_setting_fields(), validate_input(), or enqueue_admin_scripts(). This approach keeps methods focused on one thing and increases readability and testability.
A neatly arranged callback structure relieves some of that undue brain stress when the code is actually revisited after some time or reviewed by someone. Appropriate commenting and documentation blocks for every method go a long way in bringing clarity to the code. Newer IDEs tend to read these comments and provide a lot of hints and guidance. Using visibility modifiers such as public, protected, and private makes it clear as to what methods are for outside world consumption versus internal class operations. This seems to be a drag to follow at first but creates codes that are easier to read, test, and maintain, which is all the more important in the long run for plugin development.
Conclusion
Object Oriented Programming is no longer the fad; it is the best technique for the new paradigm for thinking about writing plugins for developers. OOP makes for easy maintenance, testing, and extension of your plugins by the nature of their being written into reusable modular components. It doesn’t matter if you are writing a simple utility or a rich-featured plugin, embracing OOP will put you on the track to success in the long haul. OOP adds simplicity, improves readability, and enables better collaboration benefits and scalability. Start with perfecting the knowledge of classes, objects, and very basic design principles, then evolve into interfaces, dependency injection, and abstract classes.
With this article knowledge, you are ready to begin writing your next plugin using clean, organized, and scalable OOP principles. Start small; refactor an old plugin or create a tiny one from scratch, using the practices outlined here. Before long, these routines will become second nature and drastically increase the quality of development work. OOP initially may seem too complex, but, in the long term, it offers extreme advantages when it comes to creating professional-quality plug-ins.