Introduction
WordPress with a significant percentage of over 40% websites around the world is a carrying content management system (CMS) in today’s base context. Many times developers install a theme directly or start with one template to enhance their productivity, but knowing how to build his own WordPress theme could prove extremely useful. The reason being, it makes full control over the design and function of the website more so the best part of it is that the developer will understand more about how WordPress works under the hood.
This guide is specifically written for developers intending to stay away from starter templates and want to develop a custom WordPress theme specifically for their needs. Be it portfolio sites or blogs, or perhaps, even a business site-whoever crafts the theme from scratch will have better flexibility, cleaner code, and a better-designed performance. Moreover, all aspects, from setting up the environment and creating the necessary files to adding dynamic content and styling your theme, will be covered. No starter kits, no shortcuts-just clean, foundational knowledge.
Set Up Your WordPress Environment First
Install WordPress Locally for Testing and Development
You must have your own local development environment before you start the process of creating your WordPress theme. This environment creates a space where you can experiment, test, and troubleshoot without fear of damaging the live site’s integrity or functionality. Also, local development is faster and more versatile. Local by Flywheel, XAMPP, MAMP, or DevKinsta are some examples of utilities that allow the creation of WordPress installations on your computer in just a few clicks. These platforms also keep running Apache or Nginx, MySQL, and PHP to simulate the server environment your live site will use.
After that, download WordPress from WordPress.org and then extract its files into the project directory you use (usually, the directory is under your web root). Use the installation wizard in the browser to continue the process. Make sure you create a new MySQL database using phpMyAdmin, or from the command line. Then, go through the entire setup process by defining a name for your site, creating an admin user, and logging into the WordPress Dashboard. This process sets the scene whereby you can build and test your theme from a real environment instead of using some static HTML or mockups.
Understand the WordPress File Structure and Requirements
Before you start coding, you must know the fundamental file structure and requirements to be a WordPress theme. Such installations of WordPress can include wp-admin, wp-content, and wp-includes among other directories. However, what interests you is the part within wp-content/themes because that is where all themes are kept. Creating a new folder within themes and leaving it with a unique name will help create a new theme. Inside that folder, WordPress expects to find specific files so that it will recognize it as a valid theme.
A WordPress theme must, at the minimum, include style.css and index.php. The style.css file must have a comment block at the very start, telling WordPress the name of the theme, who developed it, the version, and a description. That is what WordPress will use in listing the theme on the Dashboard. The index.php file serves as the primary template, which will eventually render your site. As you build the theme, you will later want to add other template files such as header.php, footer.php, functions.php, and others. Very important for the development of a theme that actually works smoothly and efficiently is knowing the purpose of each file and understanding how WordPress uses its template hierarchy.
Create the Essential Theme Files From Scratch
Craft Your style.css and Add Metadata Correctly
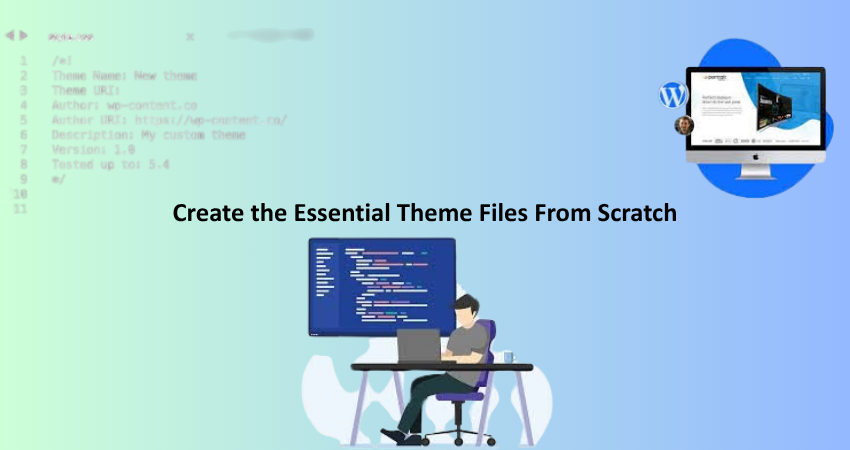
While the structure of style.css is important for any WordPress theme, it is important to note that style.css is not merely a repository of your custom CSS; it is also the theme identification file. First create a style.css file in your theme folder, then add a special metadata block at the top, in comments. This header page lets WordPress know the key attributes of your theme, including the name, version, author, and description. Here is a sample header you can use:
css
Copy
Edit
/*
Theme Name: My Custom Theme
Theme URI: http://example.com/
Author: Your Name
Author URI: http://example.com/
Description: A simple WordPress theme built from scratch.
Version: 1.0
License: GNU General Public License v2 or later
Text Domain: mycustomtheme
*/
So if you started adding this specific metadata, your theme will show up in the Dashboard at Appearance > Themes. Of course, this probably means that the site looks like it’s broken at this stage-it’s really not; WordPress is loading your theme, but since there isn’t anything in place yet HTML-wise, nothing will render. Now you can start adding your base styles to this file. Use modern CSS practices, keep a clean structure, and think responsive from the beginning. You’ll style everything from typography and color schemes to layout grids and button states as things move along with your theme.
Build index.php, header.php, and footer.php for Layout
Having created your style.css, the next step is to create the HTML structure of your theme using the template files. To start, you implement index.php: the fallback template used by WordPress when no other specific template exists. A basic index.php file has a call to get_header() and a call to get_footer(), which opens the header.php and footer.php files, respectively. Thus, code can be kept neat, tidy, and dirt free after writing it as it can be reused in many templates.
Typically open <html>, <head>, and <body> tags in header.php with the wp_head() function loading necessary scripts, styles, and metadata, along with the rest of your site’s logo, navigation, and any of your other global features such as a search bar. Finally, complete them with </body></html> tags in footer.php, which will also contain the wp_footer() function, an essential for proper functioning of plugins and javascript. With these three files, the basic structure of your site is ready; you can now preview how it looks by activating your theme in the Dashboard.
Add Dynamic WordPress Functions and Loops
Write Your First WordPress Loop to Display Posts
The WordPress Loop forms the core inside which you keep dynamic content such as the posts and the pages. Without it, your site never becomes dynamic but static. You can insert it within the core index.php page using a few lines of PHP code. The Loop checks for posts to display; if it finds some, it goes through them and outputs their content.
<?php if ( have_posts() ) : while ( have_posts() ) : the_post(); ?>
<h2><?php the_title(); ?></h2>
<div><?php the_content(); ?></div>
<?php endwhile; else : ?>
<p>No posts found.</p>
<?php endif; ?>
This simple loop displays the title and content of a post for every entry found. You can now make these items appear according to your CSS or place them under some HTML structure which matches your layout. Additional functions such as the_author(), the_time(), or the_category() could also be integrated to enrich the content. For a newbie, it is one of the best capitalizing stages when your posts suddenly appear dynamically after building the layout from scratch. It transforms your static layout into a living, breathing site.
Use functions.php to Register Menus, Enqueue Styles, and More
The functions.php file acts as your theme’s overall hub. You will use it to enable features, register custom elements, enqueue scripts and styles, and define custom functions. One of the first things to do is register your navigation menu using register_nav_menus() to allow you to manage the menus from the Dashboard. Here’s a quite easy example of how this can be done:
function mytheme_setup() {
register_nav_menus( array(
‘primary’ => __( ‘Primary Menu’, ‘mycustomtheme’ ),
));
}
add_action( ‘after_setup_theme’, ‘mytheme_setup’ );
In addition, you will want to enqueue your styles and scripts as wp_enqueue_style() and wp_enqueue_script(). This guarantees the correct loading order and dependency handling for your assets. Here is how to enqueue your main stylesheet:
function mytheme_scripts() {
wp_enqueue_style( ‘style’, get_stylesheet_uri() );
}
add_action( ‘wp_enqueue_scripts’, ‘mytheme_scripts’ );
As your theme continues to form, functions.php will evolve to accommodate support for other features, including but not limited to post types, widget areas, and custom post types. Getting to understand how this file works early gives you the edge against customizing WordPress to its greatest potential.
Implement Template Hierarchy and Advanced Features
Use the Template Hierarchy to Customize Pages and Posts
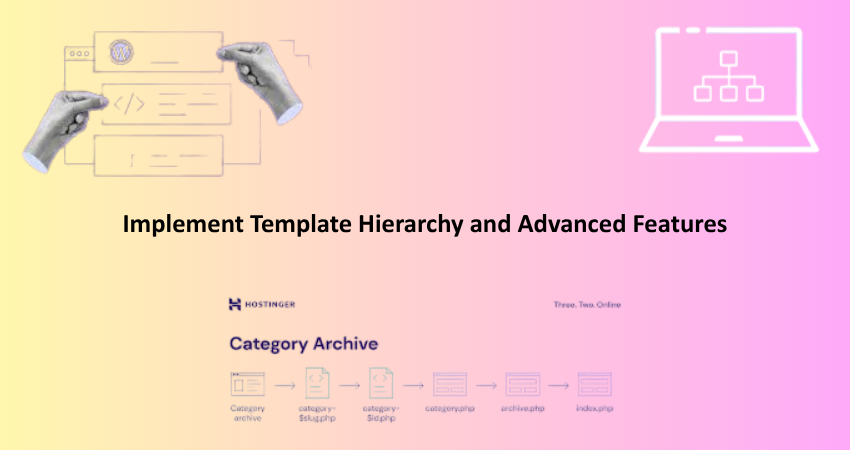
A custom theme can be built from scratch and will give you the opportunity to use WordPress’s template hierarchy for custom types of content pages. WordPress determines the page used for rendering depending on its type, slug, or ID: single.php for single blog posts, page.php for static pages, and archive.php for archives of posts. You can even create custom templates like single-product.php for your custom post types.
By manually building these files, you get total control over how each content type behaves and looks. Your single.php will draw in the post title, featured image, and related posts. Page.php may very well have the sidebar suppressed so it is really clean. As a beginner, copy index.php, and then start adjusting for the specific types of content. This works on the premise that WordPress will use a more generic template if one more specific is unavailable in its fallback system. That way, your website would always load as intended.
Add Widget Areas, Featured Images, and Post Thumbnails
With the enabled widgets and featured post images, the theme receives all the true capabilities of WordPress’s diverse content features. Widget areas are created within the functions.php file by invoking register_sidebar(). This is another area where users can drag and drop widgets from their dashboard to different sections of their site such as sidebars or footer areas. Offers flexibility and customizability options.
To activate featured images/posts and thumbnails, add the undermentioned line in your functions.php file:
php
Copy
Edit
add_theme-support( ‘post-thumbnails’ );
Once this is done, you can apply the_post_thumbnail() onto any of your templates to show the image. Featured images enhance a post’s presentation, giving an extra polish to archive pages. These insights into creating these features without starter templates give you a good view of how WordPress handles dynamic content and media, thus providing a solid foundation for the more advanced development of themes that will follow.
Conclusion
As a web developer, building your own WordPress theme without a starter template is probably the most empowering thing you can do; it allows you to control the look and feel of your site, as well as performance. Most importantly, It teaches you some of the very fundamentals of how WordPress works, which will only make you a better developer when it comes to styling your themes for yourself and clients or for the WordPress ecosystem at large.
From setting up your local development environment for creating the core theme files, working dynamic loops, and taking advantage of the template hierarchy, each and every step is shaping you into a WordPress pro. This will definitely take you a longer time than just installing a pre-built template, but the wisdom you would gain and flexibility you earn will make the pain worth it. Now, just get your hands dirty, code your heart out, and put together a theme that is entirely your own—no touch from any starter kit!